

Load testing is very important, we have already talked about the reasons why you shouldn’t skip this part of testing. But at the same time it doesn’t have to be time consuming or complicated. In fact, you can get ready to perform load testing in Loadero in literally 15 minutes. And the good news are, you can transform your carefully designed performance test to a load test to have your website run by hundreds or thousands of participants in our web load test tool. This feature allows you to use real-world scenarios and make sure your web service is 100% ready for traffic increase and will work perfectly for every user. In today’s example we will assume, that you have already made a performance test, in case you haven’t, here is a blog post on how to easily make one.
Prerequisites:
- Active Loadero account (you can create one, it’s free).
- Logged in Loadero.com with your active account.
- Existing performance test. Follow this guide for configuring a performance test.
Let’s go through all the performance test configuration data we will be using for this example as the base. Sure you can have a more complicated configuration with various browsers, locations and network conditions settings. Information about features and available custom commands can be found in our Wiki. By the way, creating and running a good performance test is free with our trial subscription.
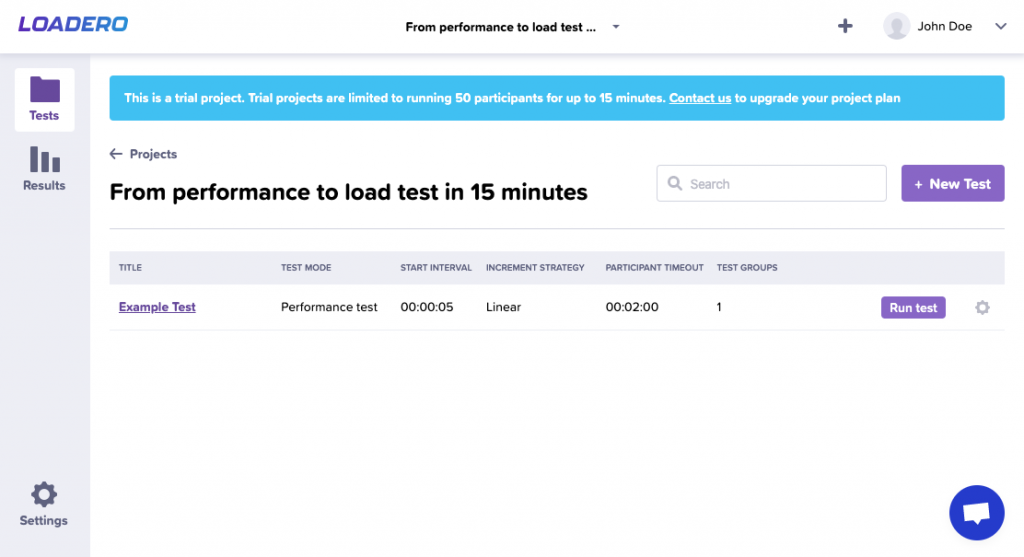
1) Test configuration:
- Name: Example test;
- Test mode: performance;
- Start interval: 5 seconds;
- Participant timeout: 2 minutes;
- Increment strategy: linear;
- Script: (Script example which will navigate through some of the sections of bing.com website); If you need help writing a test script, make sure to read this guide.
function(client) {
    // Initializes variable for maximum wait time spent loading page/element
    const loadTimeout = 30 * 1000;

    client
        // Navigate to website bing.com
        .url("https://www.bing.com")
        // Wait up to 10 seconds until page is visible and take a screenshot
        .saveScreenshot("bing.png")
        // Wait up to 10 seconds until images button is visible and click on it
        .waitForElementVisible('#images', loadTimeout)
        .click('#images')
        // Wait up to 10 seconds until maps button is visible and click on it
        .waitForElementVisible('#b-scopeListItem-local', loadTimeout)
        .click('#b-scopeListItem-local')
        // Wait up to 10 seconds until directions button is visible and click on it
        .waitForElementVisible('.directionsIcon', loadTimeout)
        .click('.directionsIcon')
        // Wait up to 10 seconds until Go button is visible and click on it
        .waitForElementVisible('.dirBtnGo', loadTimeout)
        .click('.dirBtnGo')
        // Click on Microsoft Bing logo to go back to search page
        .click("[title='Back to Bing search']");
}
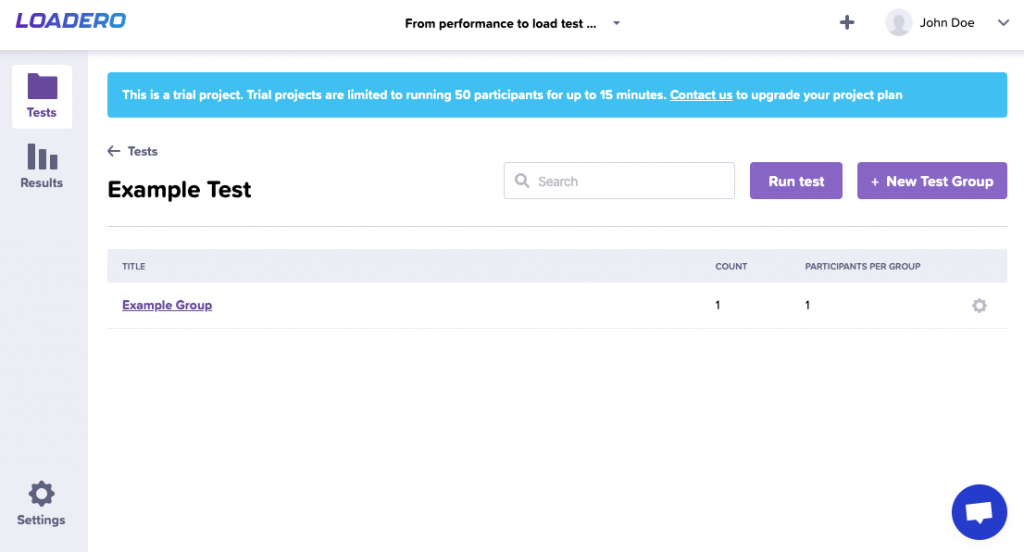
2) Group configuration:
- Name: Example Group;
- Count: 1;
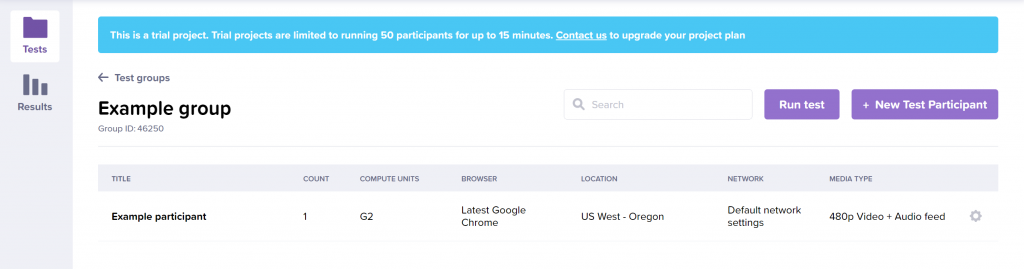
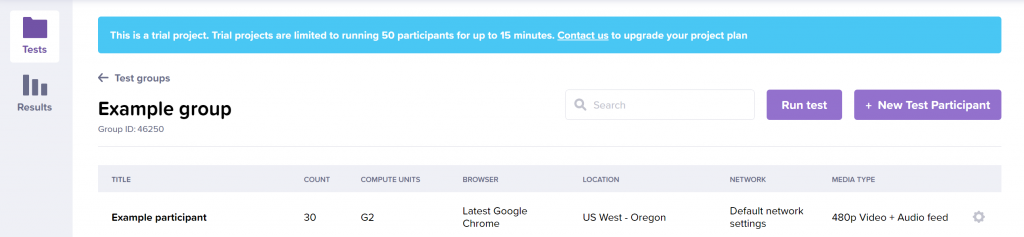
3) Participant configuration:
- Name: Example Participant;
- Count: 1;
- Compute units: G2 (Read more about compute units);
- Browser: Latest Google Chrome;
- Location: US West – Oregon;
- Network: Default network condition;
- Media: 480p Video + Audio feed;
To perform load testing by transforming an existing performance test into a fully functional load test, there are just a few things we need to adjust.
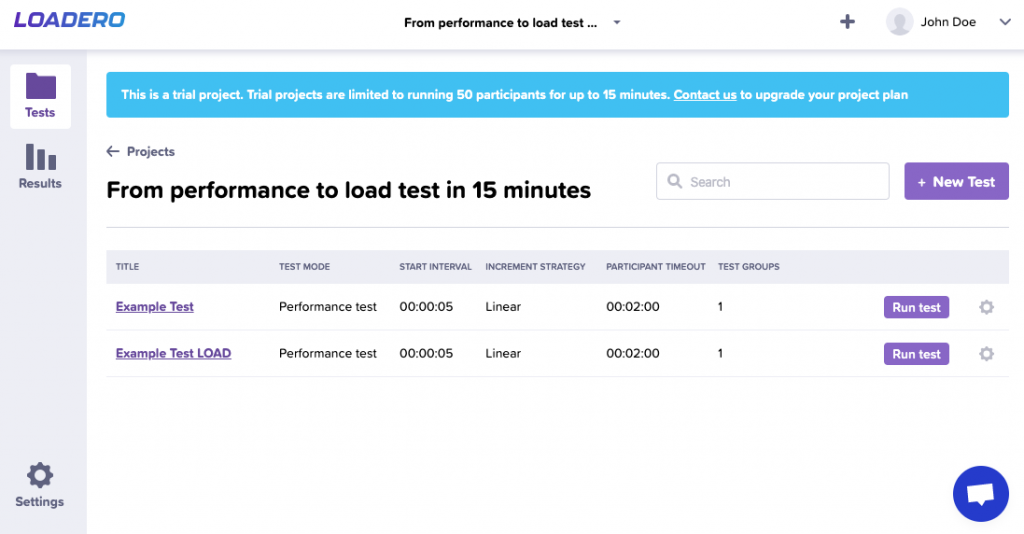
1) Create a copy of the performance test using duplicate functionality, so we have regular performance test still available. We have added the “LOAD” suffix at the end of the test name to better distinguish which test is which.
2) Increase the count of either group or participant, this will result in an increased number of participants executing our defined test. Usually, for load tests, we’d use hundreds or even thousands of participants, but for this example, we will use only 30 participants, to not exceed trial project limits.
3) Change test mode from the performance test to load test by editing our test.
4) Adjust participant timeout and start interval for the test to reasonable values for the load test, so that we are not DDoS attacking certain page.

5) Lastly, we have to adjust our test script, so it continuously navigates the page instead of running through the script once and exiting. To accomplish this we will wrap page navigation in a loop that will iterate our specified amount of times through the page.
Adjusted script:
function(client) {
    // Initializes variable for maximum wait time spent loading page/element
    const loadTimeout = 30 * 1000;
    // Number of times to navigate through the page
    var iterations = 10;

    client
        // Navigate to website bing.com
        .url("https://www.bing.com")
        // Wait up to 10 seconds until page is visible and take a screenshot
        .saveScreenshot("bing.png");

    // Loops while specified iteration count has been reached
    while (iterations) {
        client
            // Wait up to 10 seconds until images button is visible and click on it
            .waitForElementVisible('#images', loadTimeout)
            .click('#images')
            // Wait up to 10 seconds until maps button is visible and click on it
            .waitForElementVisible('#b-scopeListItem-local', loadTimeout)
            .click('#b-scopeListItem-local')
            // Wait up to 10 seconds until directions button is visible and click on it
            .waitForElementVisible('.directionsIcon', loadTimeout)
            .click('.directionsIcon')
            // Wait up to 10 seconds until Go button is visible and click on it
            .waitForElementVisible('.dirBtnGo', loadTimeout)
            .click('.dirBtnGo')
            // Click on Microsoft Bing logo to go back to search page
            .click("[title='Back to Bing search']");
        // Reduces remaining iteration count by 1
        iterations--;
    }
}
And that is all you have to do to transform your performance test and perform load testing with Loadero. To get the most valuable information from the test results, make sure to read this blog post about reports in Loadero. If you need any assistance, feel free to contact our support team at support@loadero.com. We are proud of our web load test tool and will be happy to help you effectively use it.


