

Post-run assertions give a great opportunity to quickly determine if test run results are within the preset limits. If you need to analyze web app performance metrics that can be set as asserts for a finished test run, it is done very quickly in Loadero. For example, it’s quick and easy to assert machine CPU and memory usage to not exceed 60 percent during the test run. Or you can use asserts to focus on network bitrate or packet loss. Asserts play a big role in run result statistical evaluation.
Use of asserts can save you a lot of time when analyzing test run results, if there is a metric or a set of metrics you need to validate, you don’t have to examine them manually. Spend a couple of minutes setting an assert, and pay your attention only to the participant results with issues. In this blog post, we will be explaining how to set up post-run asserts, examine assert results and achieve maximum benefit from tests. If you are not using asserts yet, we strongly recommend you to try out this feature.
Prerequisites:
- Active Loadero account (you can create one here, it’s free).
- Logged in Loadero.com with your active account.
- Basic knowledge of the Loadero service structure and simple performance test structure created (read more about how to start using Loadero).
Understanding assert path format
Using asserts is a lot easier than it may seem the first time. All assert path values and operators are predefined and can be selected from the dropdown menus. All you have to do is pick them according to your needs and fill in the expected result. We are going to break down two of our many asserts to explain each part of it.
machine/ram/percent/avg
- Data source: machine
- Data type: ram
- Dаta format: percent
- Aggregator function: avg
webrtc/video/fps/in/stddev
- Data source: webrtc
- Data type: video
- Statistic: fps
- Data stream direction: in
- Aggregator function: stddev
If you are testing a WebRTC application, then using post-run asserts can improve your work on the evaluation of run statistics big time since you don’t have to analyze WebRTC internals dump by yourself, and leave this job to an automated assertion. Loadero allows setting assert values for media bitrate, audio volume, codec of the media stream and more. Asserts are a great tool to use, if WebRTC application is your case. Please note, that almost all WebRTC asserts have a data stream direction that defines whether this data is incoming or outgoing.
To see the full list and learn more about available statistics and aggregator functions check out our wiki page.
Post-run assert setup
Prerequisites have to be completed before setting up post-run asserts. Asserts can be added in the test edit (creation) view.
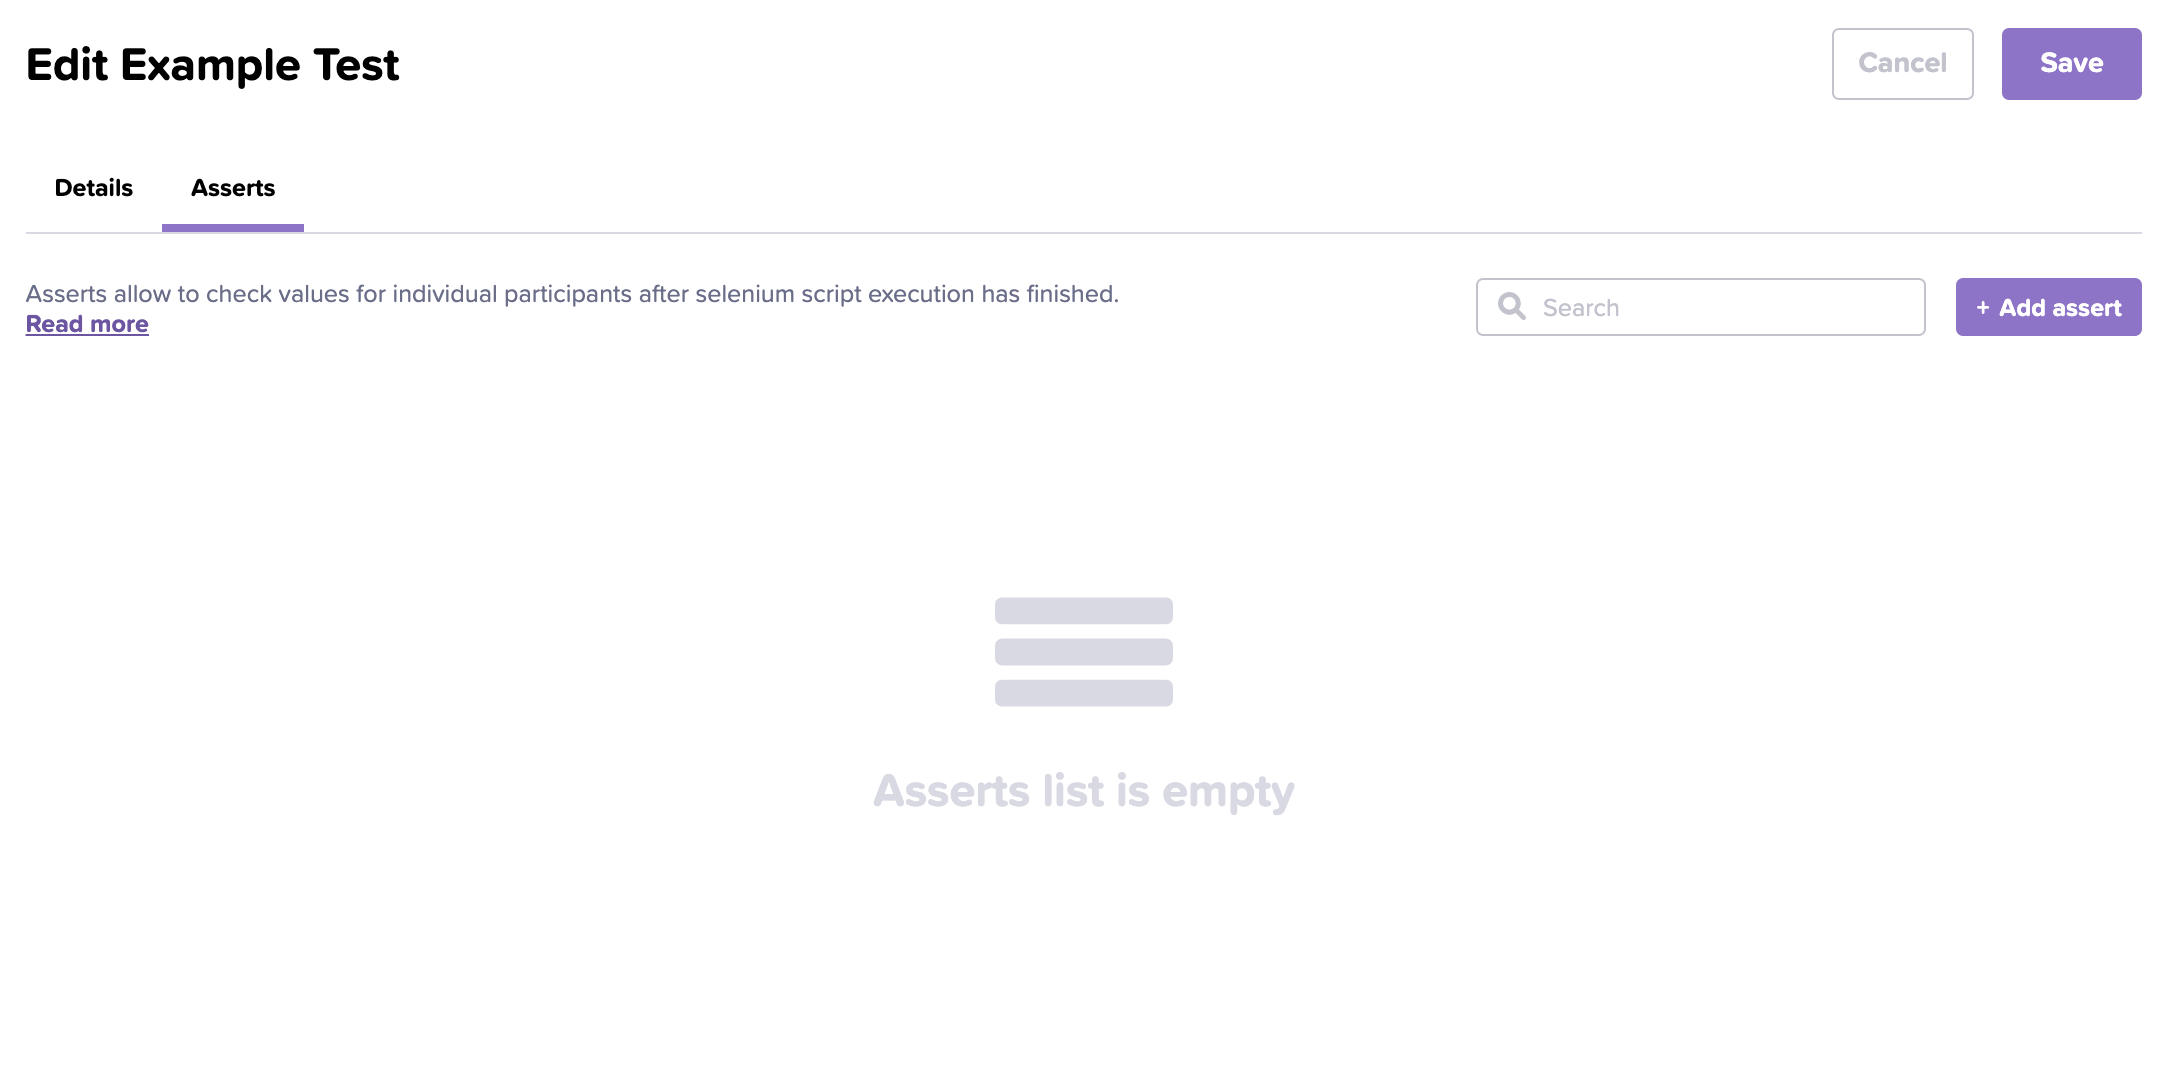
1. Navigate to the “Asserts” tab
2. Click “Add assert” button
3. Select all three required values from the dropdown menu
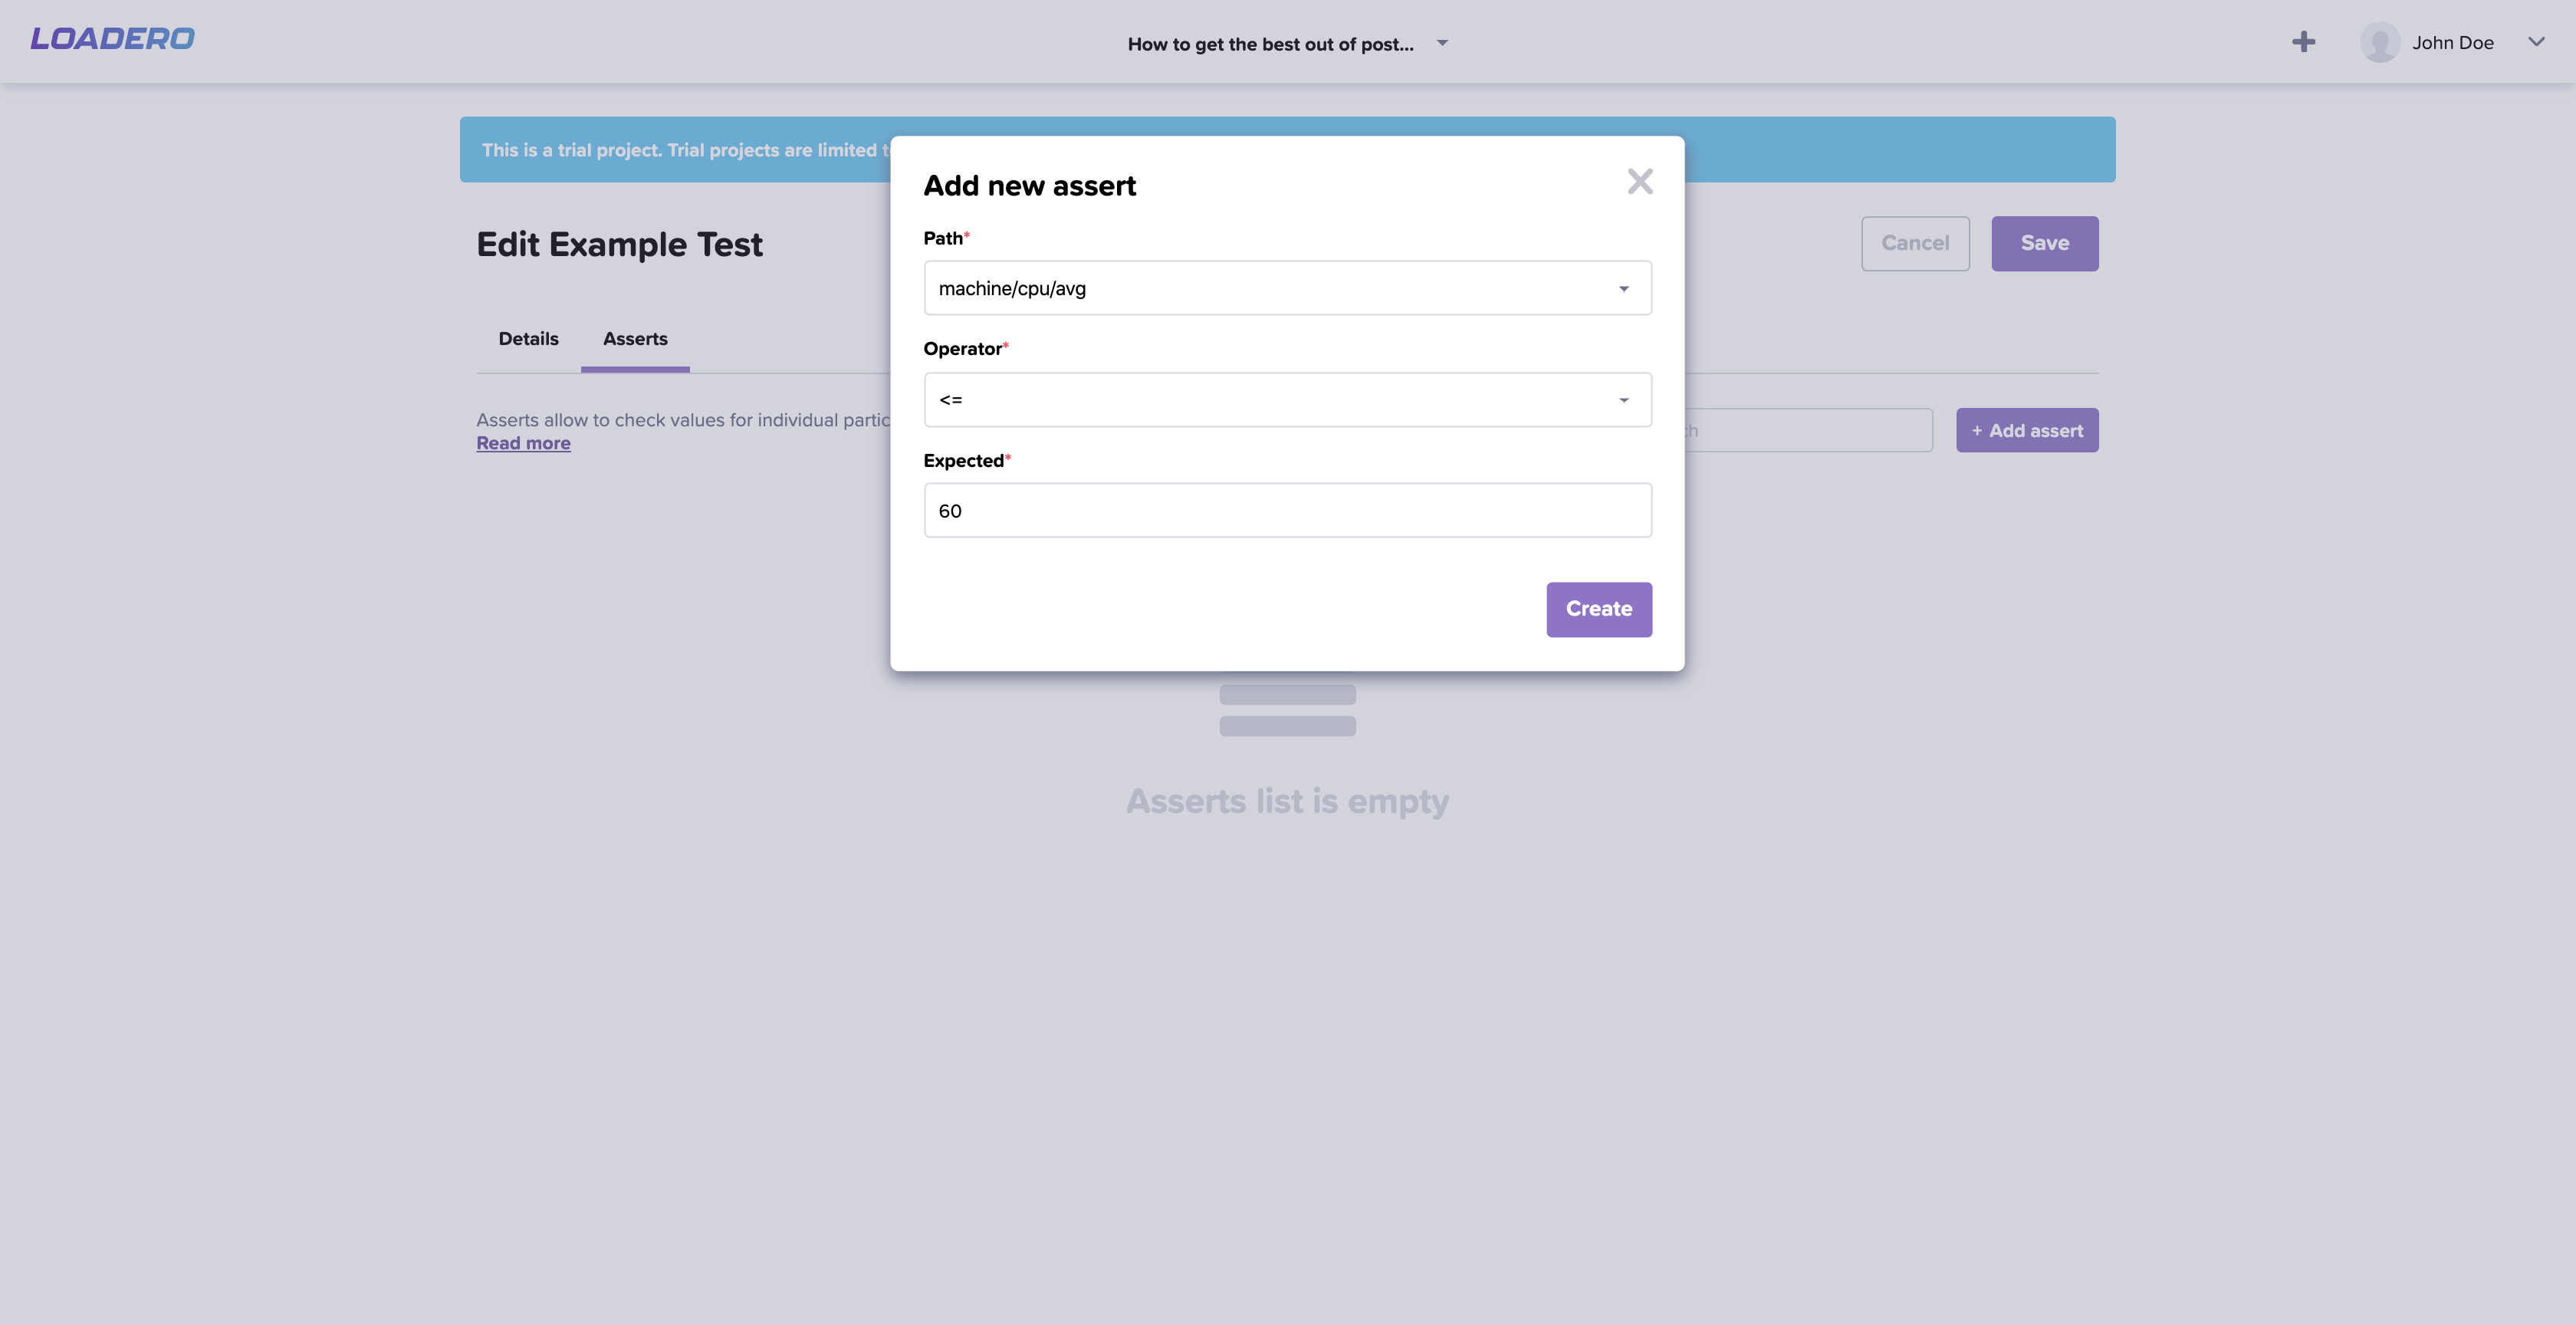
All three values are required to add a new assert, but no worries, all assert path values and operators are predefined and can be selected from the dropdown menus. All you have to do is pick them according to your needs and fill in the expected result.
Path – assert path formatted as described above.
Operator – classic boolean operators, including extra “regex” operator.
Expected – expected result for this assertion. In the case of “regex” operator, this expected value should be written in regular expression syntax.
4. Click the “Create” button
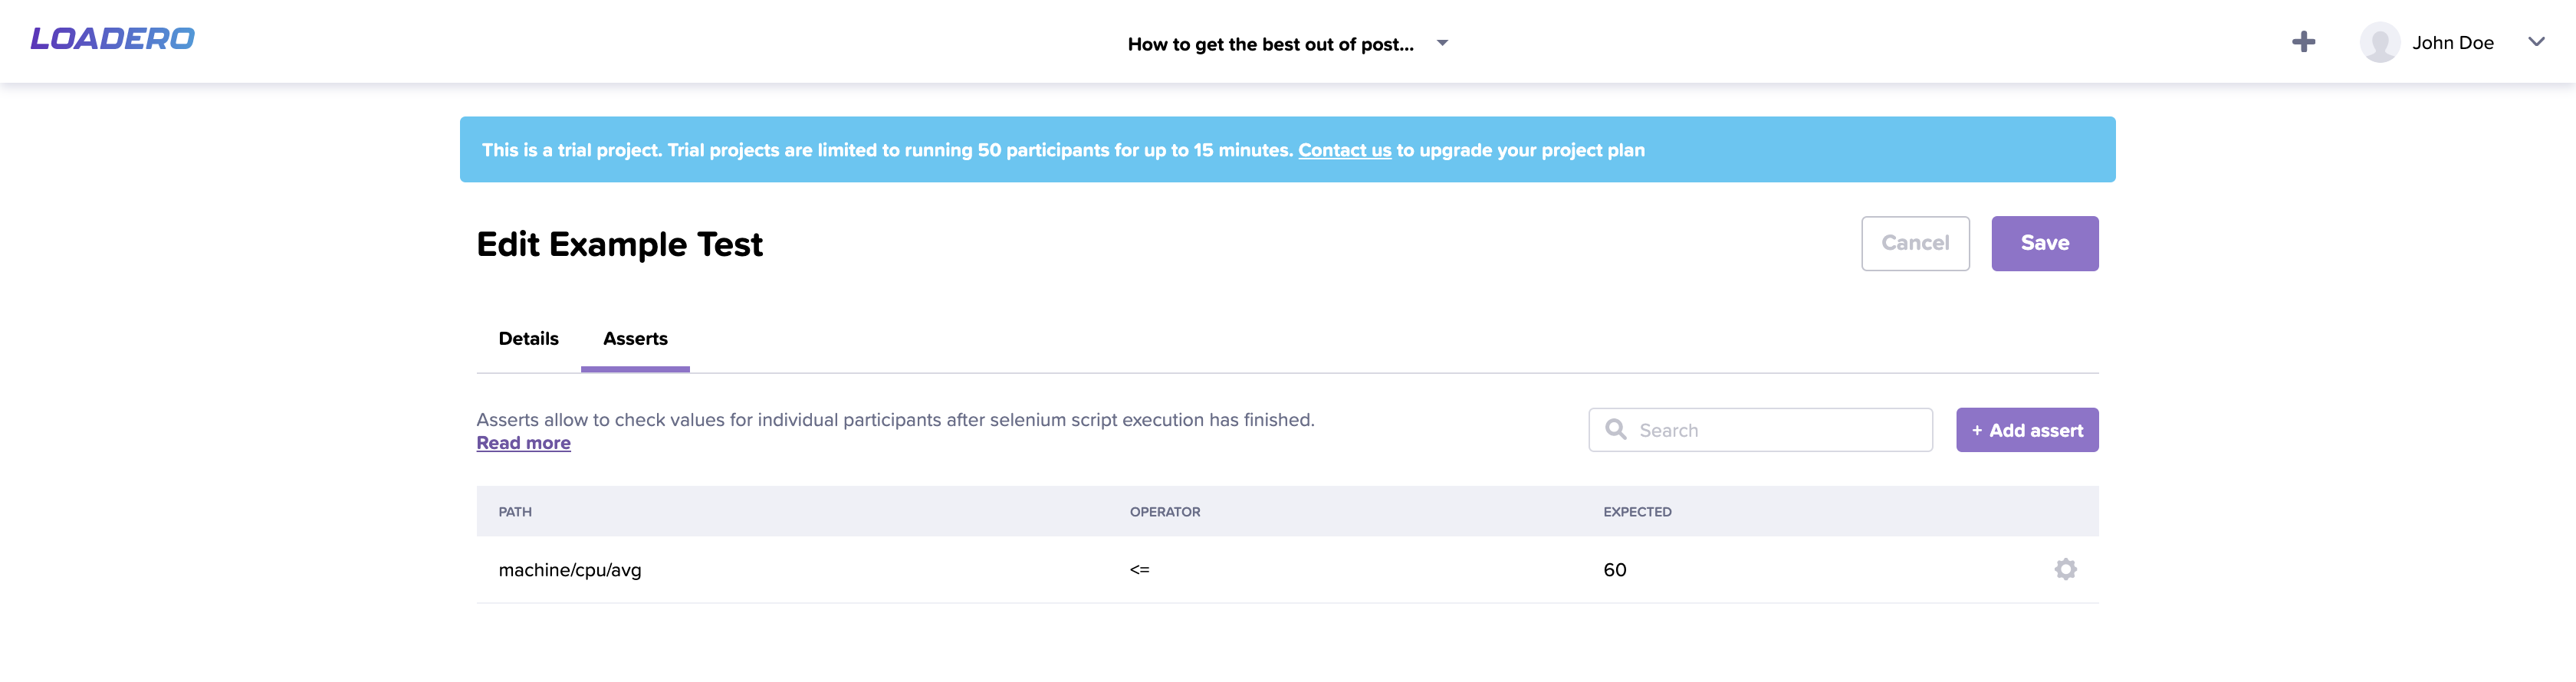
5. Created assert now should appear in the list as shown below
Post-run assert result examination
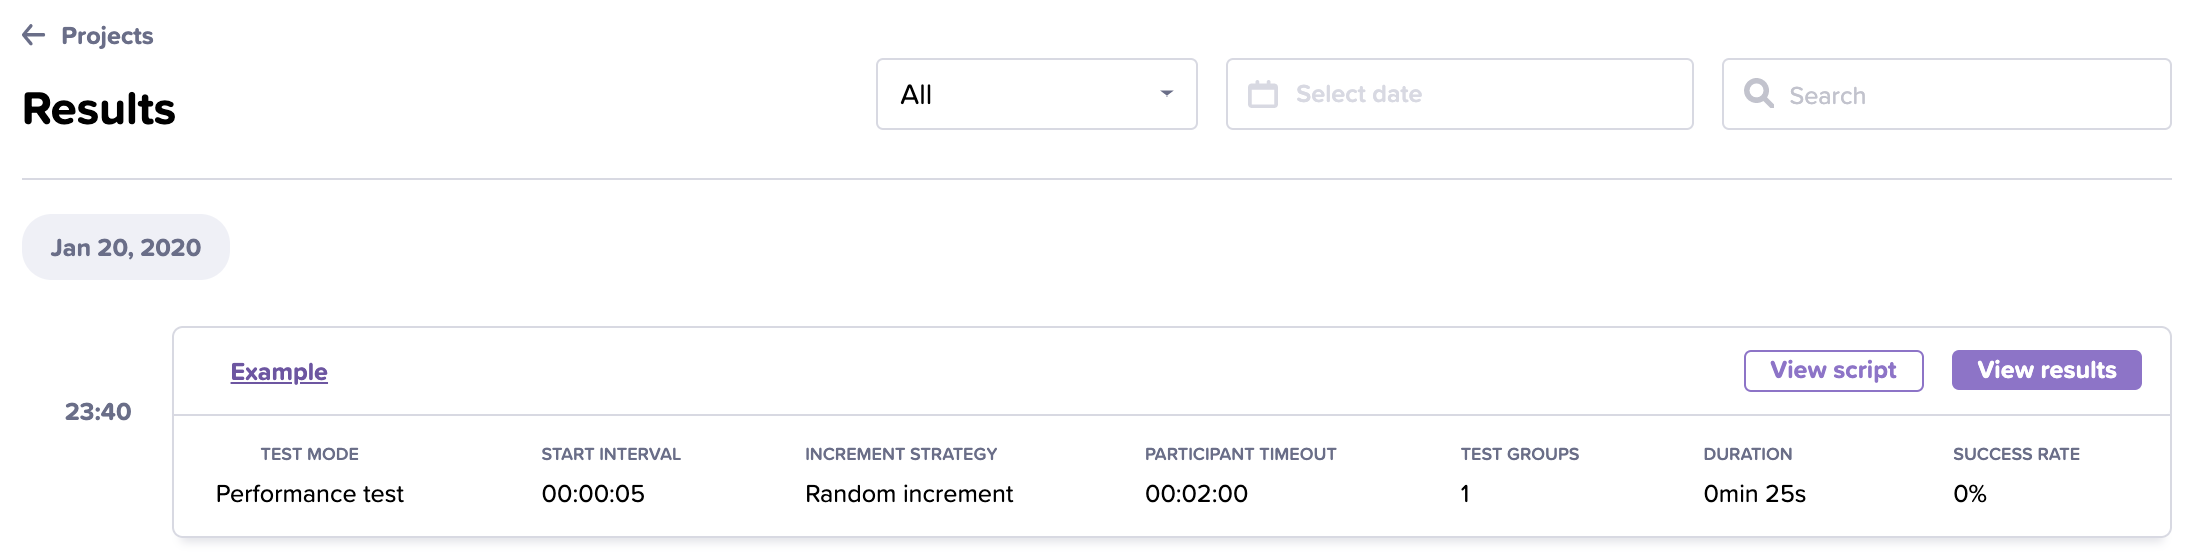
If post-run asserts have been set up and the test has finished its execution, assert results can be seen for the overall test run and specifically for each participant.
To view all executed asserts, press the “View results” button and navigate to the “Asserts” tab. Keep in mind that this tab will be disabled if the test mode is not set to “performance test”.
In the example below, the assert has failed with a success ratio of 0/1, meaning 0 participants passed out of 1. In the list below, you can see a quick overview of the assert.
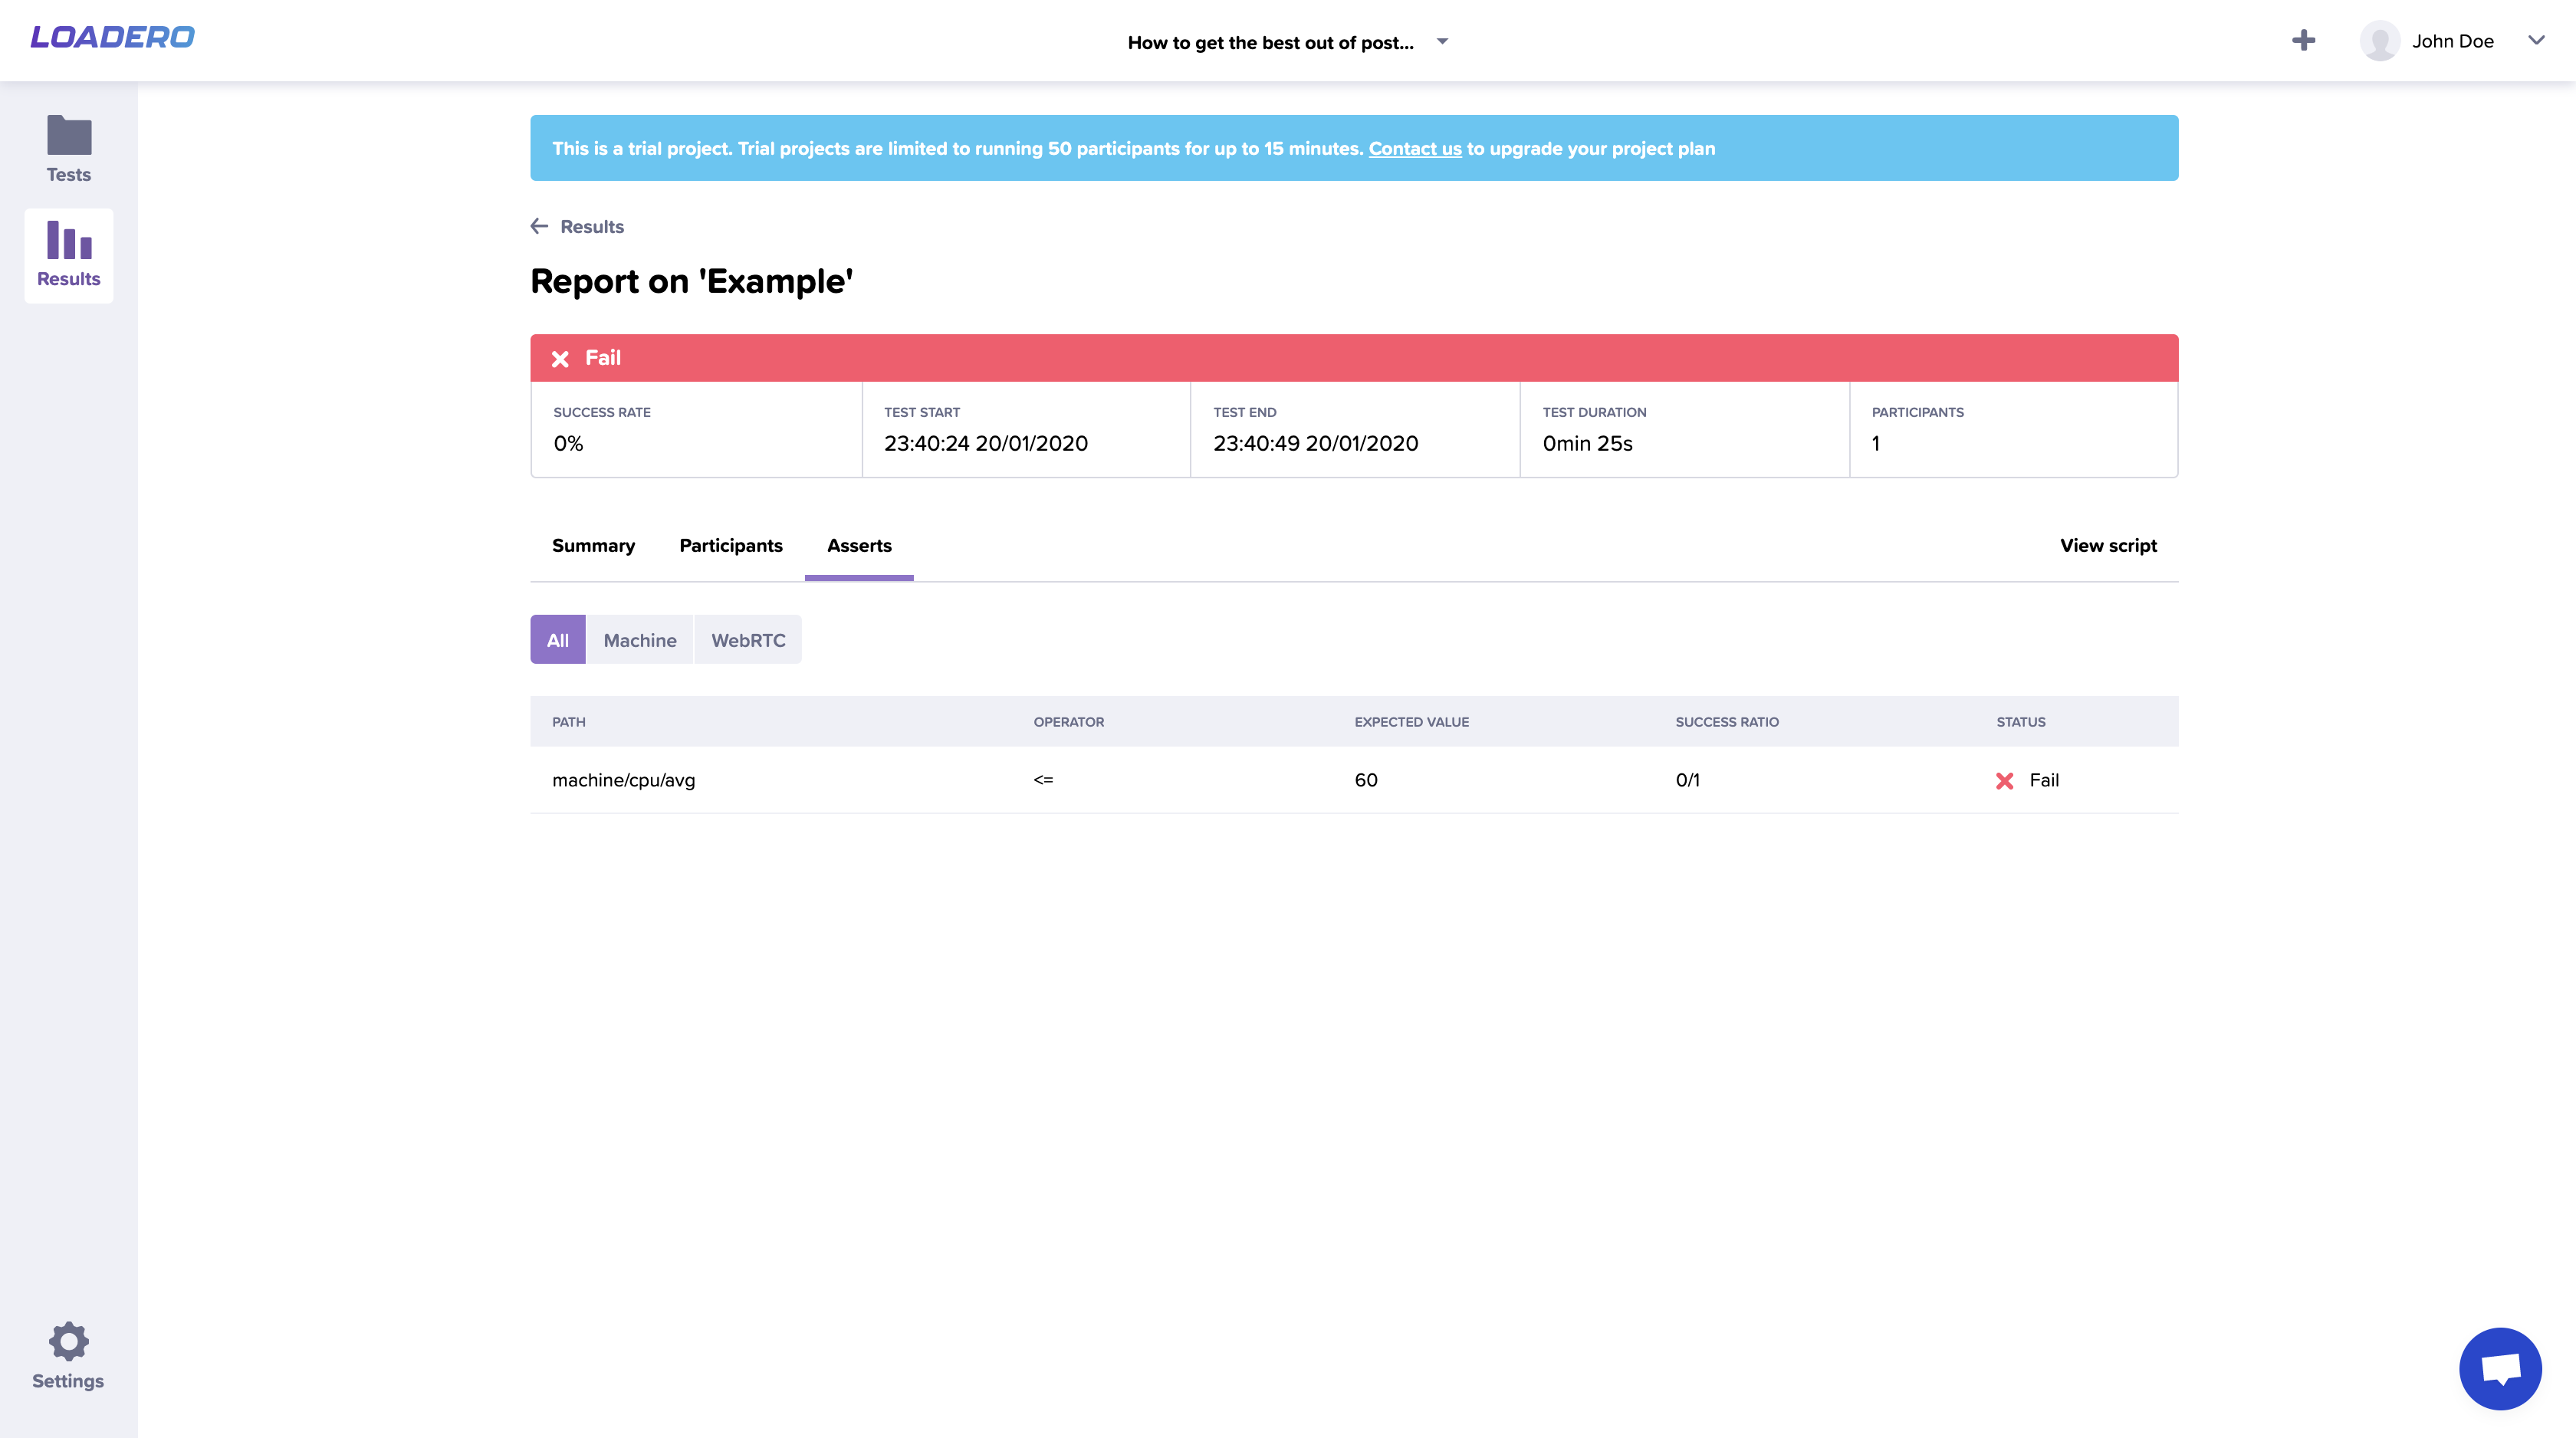
To find out which participant failed this assert and why it happened, navigate to the “Participants” tab and select the participant which failed. Then, as before, navigate to the “Asserts” tab.
Assert can fail for multiple reasons. In our case, it failed because we were expecting the assertion value to be lower or equal to 60. In the image below you can see that the actual result for this assertion was 85.67 which is greater than 60.
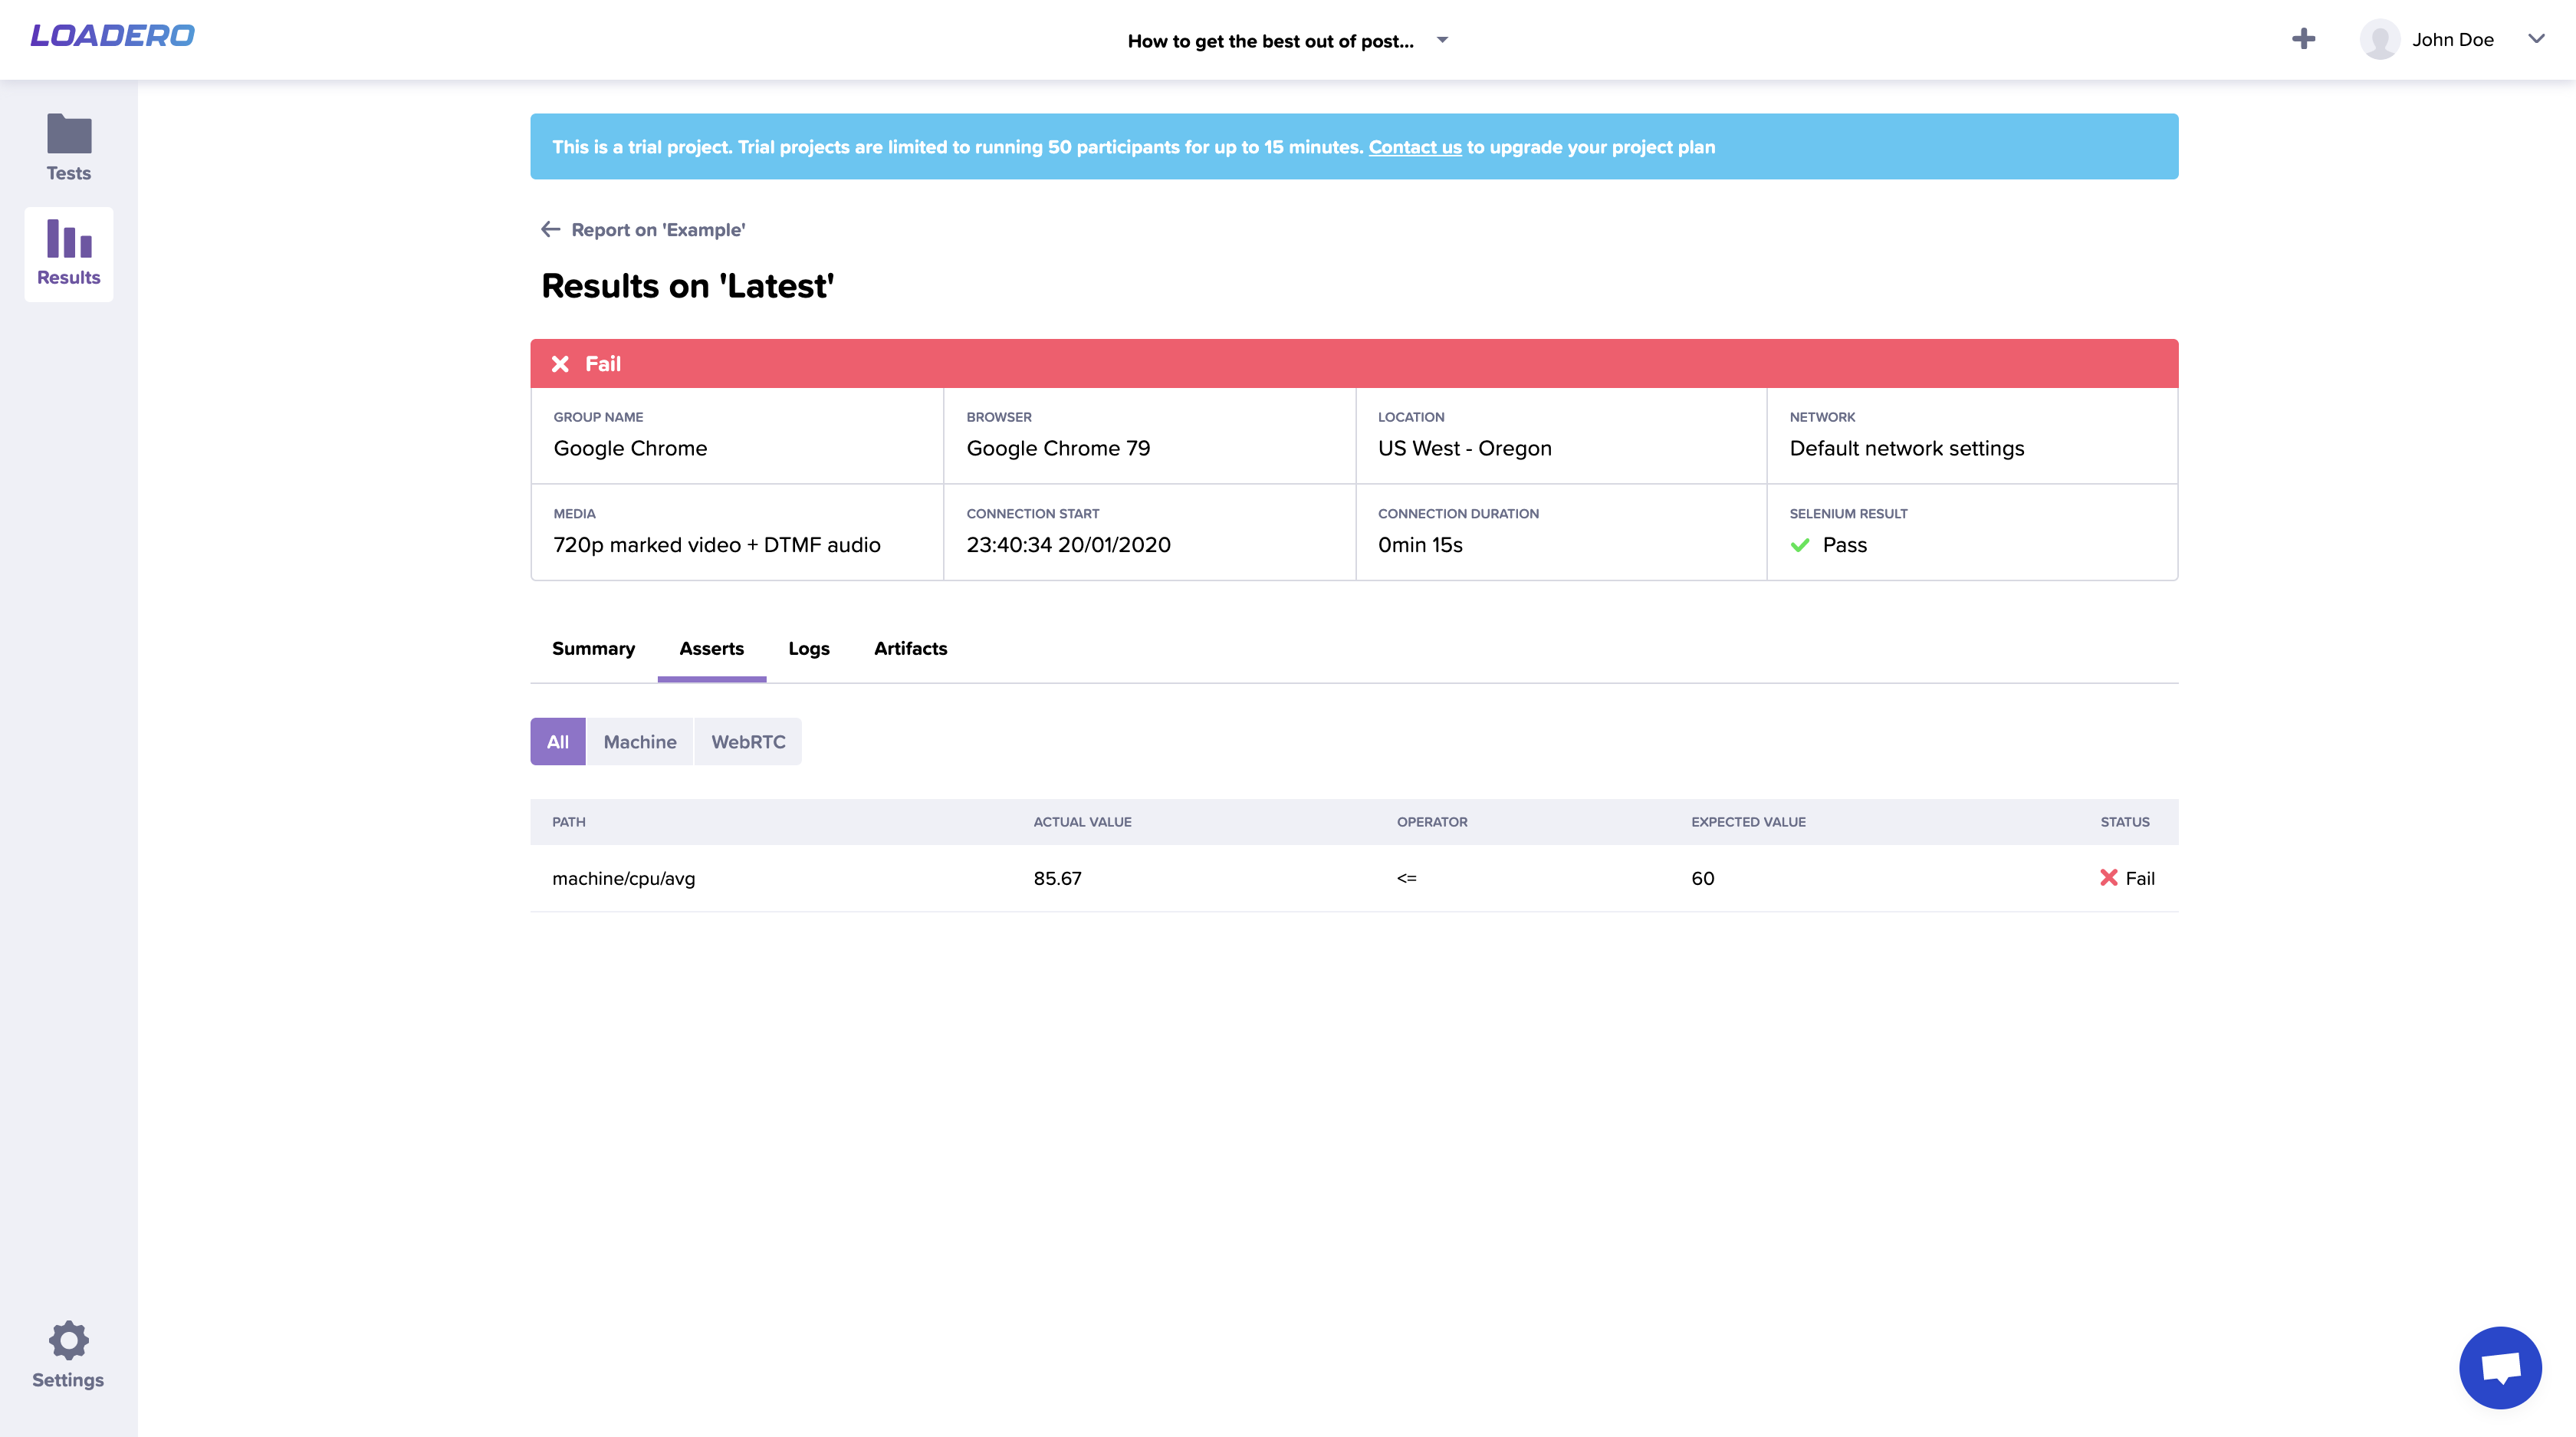
Notice that overall this participant has failed, but that is just because a single assert has failed. So choosing correct web app performance metrics to be set in an assert is essential for getting relevant results. As can be seen in the header, the test script executed successfully.
Overall post-run assertions provide some quick test run validation, by setting certain limits that each participant should adhere to – machine statistics and also WebRTC data statistics. Check out our wiki page about post-run asserts where you can find all available statistics and aggregation functions.


